
Abhishek Bana
Green Entrepreneur
Brew Your Own Buzz: A Beginner’s Guide to Homemade Kombucha in India
Have you ever wondered how to make that tangy, fizzy, and health-boosting drink called Kombucha right in your own kitchen? The good news is, it’s simpler than you might think! As a nation increasingly embracing wellness and home-grown solutions, brewing your own Kombucha is not just economical (costing around ₹10-₹15 per serving compared to store-bought options) but also incredibly rewarding.
What Exactly is Kombucha?
At its heart, Kombucha is a fermented tea beverage. Its origins are shrouded in some mystery, but it’s believed to have emerged in Northeast China over 2,000 years ago, where it was revered as the “Tea of Immortality” or the “Immortal Health Elixir.” From there, it travelled along trade routes to Russia, Eastern Europe, and eventually, the rest of the world.
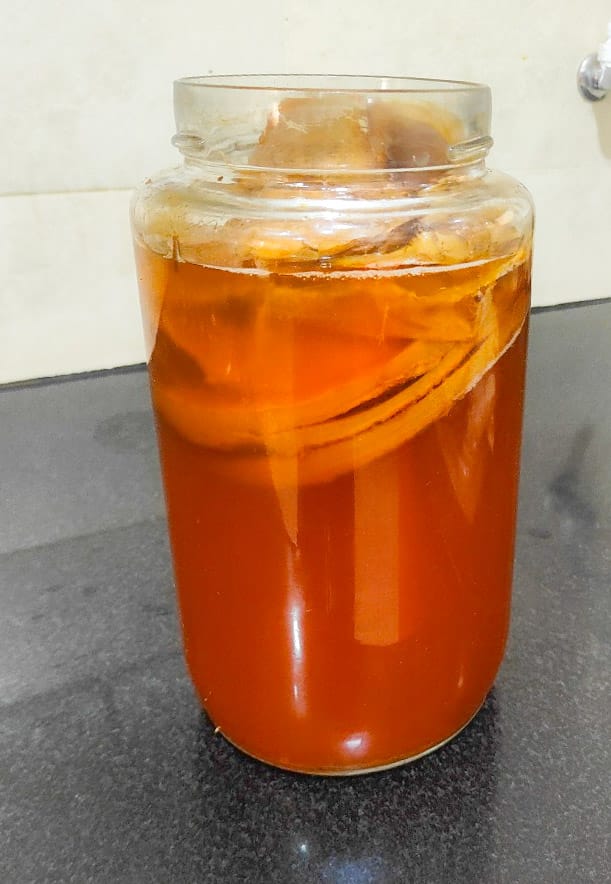
The magic behind Kombucha lies in its unique fermentation process, driven by a SCOBY (Symbiotic Culture of Bacteria and Yeast). This rubbery, pancake-shaped culture, often referred to as the “mother” or “mushroom,” feeds on sweetened tea. As the SCOBY consumes the sugar, it produces a range of beneficial compounds: organic acids (like acetic, gluconic, and lactic acid), enzymes, antioxidants, B vitamins, and most importantly, probiotics.
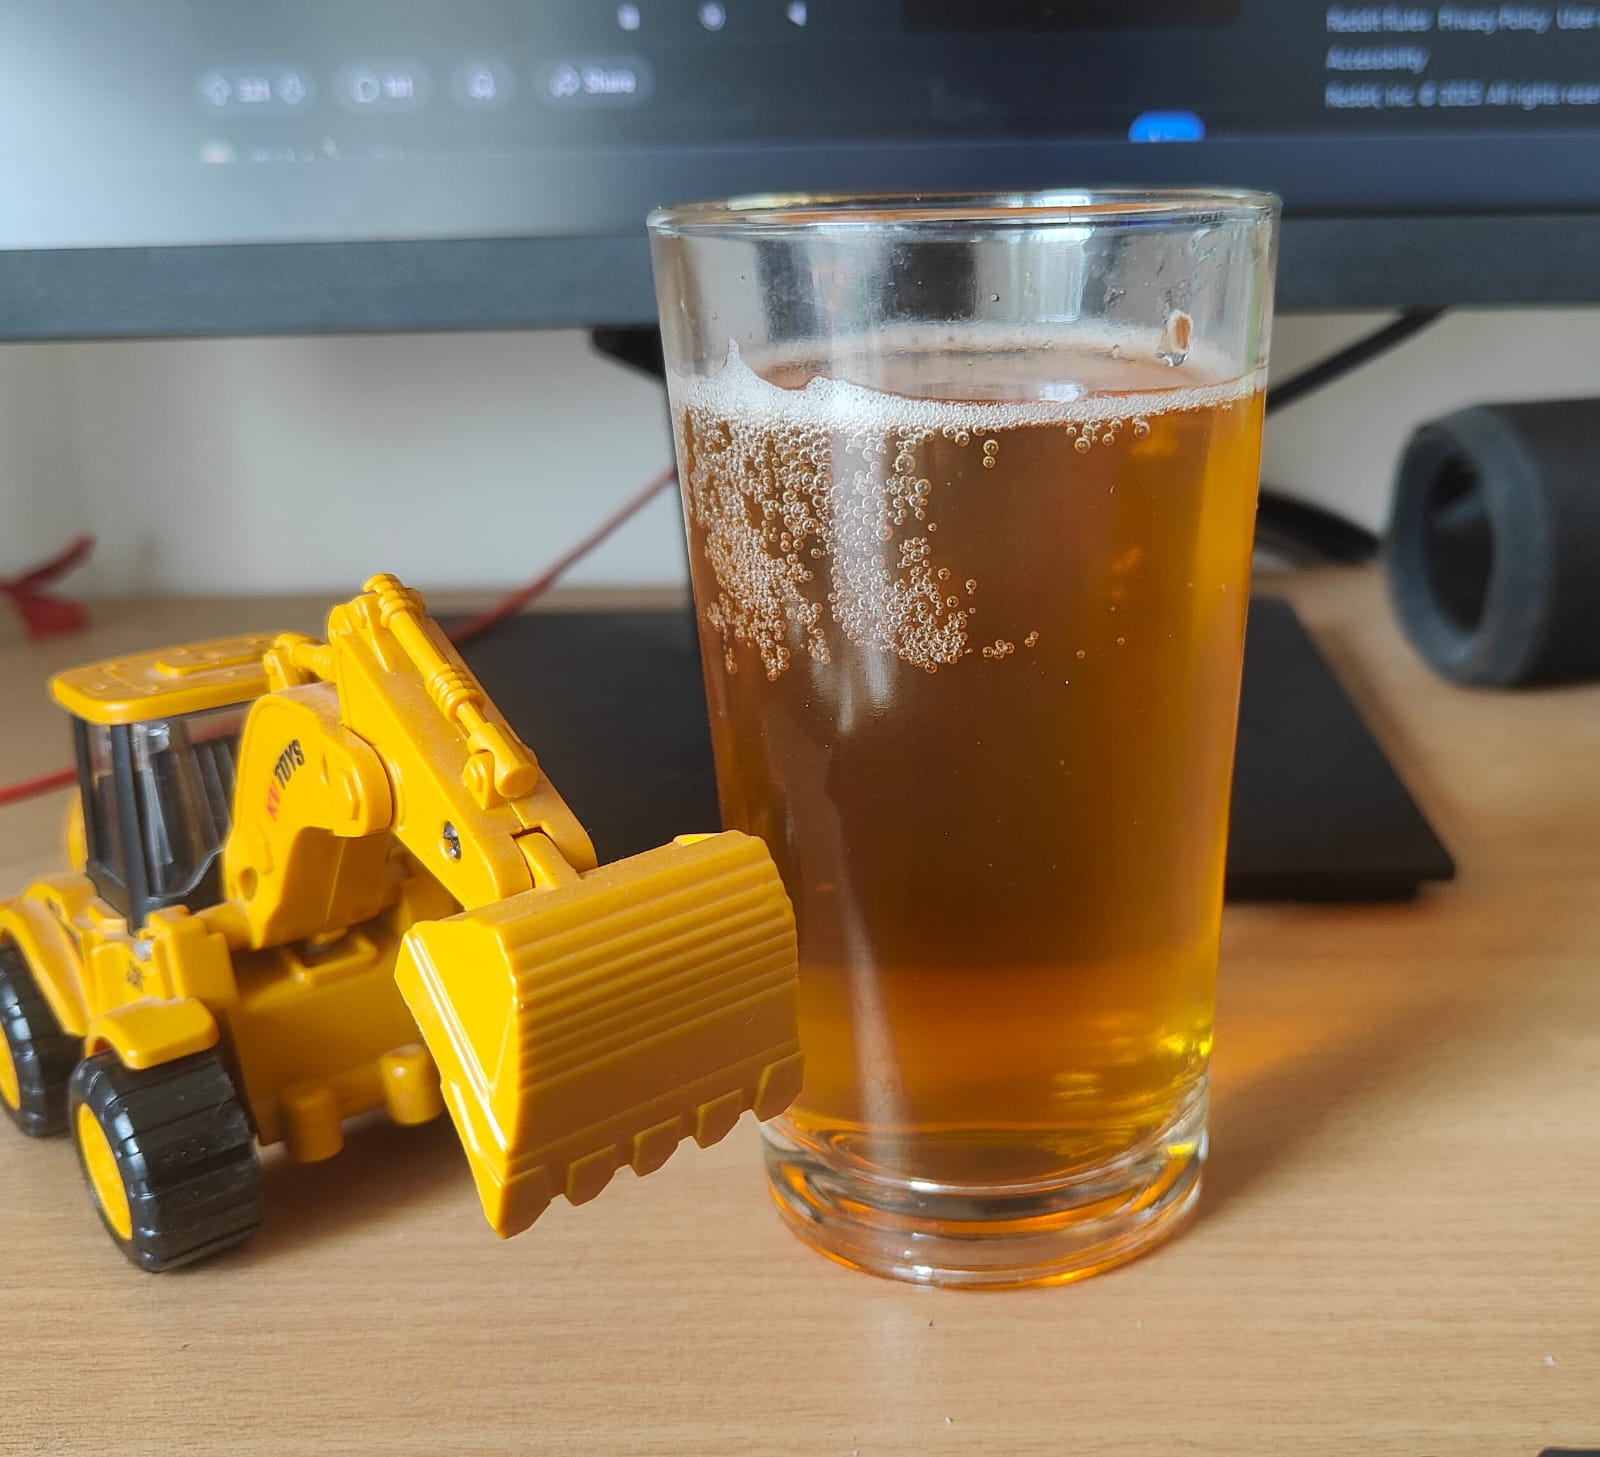
The result is a sparkling drink with a distinct sweet-and-sour profile, often with a pleasant tang that can be customized with various flavors. Many enthusiasts drink Kombucha for its purported health benefits, especially its contribution to gut health, digestion, and immune system support through its live probiotic cultures. While not a cure-all, it offers a refreshing, low-sugar alternative to sodas and other processed beverages.
Now that you know what it is, let’s dive into how you can make it yourself! This guide is designed for the curious beginner in India, helping you navigate the fascinating world of fermentation to create your very own batch of this ancient elixir.
What You’ll Need: Ingredients & Equipment
Before you begin, gather your essentials. Quality ingredients and proper equipment are key to a successful brew.
Ingredients:
- Water: Around 3.5 liters. Filtered or purified water is highly recommended to avoid chlorine, which can harm your SCOBY.
- Tea: 1 cup (or 8 tea bags) of black tea, green tea, or a mix. Black tea is often recommended for beginners as it provides robust nutrients for the SCOBY. Avoid flavored teas, especially those with oils (like Earl Grey), as they can weaken your culture. Common Indian household chai brand works wonders!
- Sugar: 1 cup (about 200g) of sugar. This is the food for your SCOBY. Do not use artificial sweeteners, honey (unless making Jun Kombucha), jaggery (which can introduce off-flavors and affect SCOBY health), or brown sugar initially, as they may alter the fermentation process and SCOBY health.
- SCOBY (Symbiotic Culture of Bacteria and Yeast): This is the heart of your Kombucha. It’s a rubbery, pancake-shaped culture. You’ll need one healthy SCOBY. Where to get a SCOBY in India? You can purchase healthy SCOBYs online from specialized Indian probiotic suppliers like Sattvic Foods or Arishtam, or from health food stores. You might also find local brewers or online communities where people share SCOBYs.
- Starter Tea: 2 cups of unflavored, unpasteurized Kombucha from a previous batch or a store-bought raw Kombucha. This lowers the pH of your brew quickly, creating an acidic environment that prevents mold. If your purchased SCOBY comes with liquid, that’s your starter tea.
Equipment:
- Brewing Vessel: A 4-5 liter wide-mouthed glass jar is ideal. Glass is preferred as it’s non-reactive. Avoid plastic, ceramics (unless food-grade and lead-free), or most metals (especially aluminum) for prolonged contact, as they can leach into your Kombucha or harm the SCOBY.
- Cover: A tightly woven cloth (like a clean cotton napkin, old clean t-shirt works just fine) secured with a rubber band. This allows airflow while keeping out dust and fruit flies. Avoid cheesecloth, as its weave is often too loose.
- Bottles for Second Fermentation (F2): Swing-top glass bottles or thick, food-grade plastic bottles are best for carbonation. Avoid regular glass bottles as they can explode under pressure.
- Large Pot: For boiling water and steeping tea.
- Strainer/Funnel: For bottling (optional, but very helpful, TRUST ME!).
The Brewing Process: First Fermentation (F1)
This is where the magic happens!
- Brew the Sweet Tea Base:
- Bring 1 liter of your filtered water to a boil in your large pot.
- Remove from heat, add the 1 cup of sugar, and stir until completely dissolved.
- Add your tea bags or loose-leaf tea (using a tea ball or infuser if loose leaf) to the hot sugar water.
- Let the tea steep for about 10-15 minutes, then remove the tea bags/leaves. For a stronger tea flavor, you can steep a bit longer.
- Cool Down:
- Allow the sweet tea concentrate to cool down completely to room temperature. This is crucial! If you add the SCOBY to hot tea, you will kill it. You can add the remaining 2.5 liters of cold filtered water to the hot concentrate to speed up the cooling process. The final temperature should be between 24°C and 30°C .
- Combine & Add SCOBY:
- Pour the cooled sweet tea mixture into your clean glass brewing vessel.
- Add the 2 cups of starter tea (RAW Kombucha that comes with SCOBY). This makes the brew acidic and helps prevent mold.
- Gently slide your SCOBY into the liquid. It might float, sink, or hover – all are normal. A new layer (baby SCOBY) will usually form on the surface.
- Cover & Ferment:
- Cover the mouth of the jar with your breathable cloth and secure it tightly with a rubber band.
- Place the jar in a quiet spot away from direct sunlight, at a steady room temperature (ideally 24-30°C). Avoid disturbing it.
- Ferment for 7 to 14 days. The fermentation time will vary depending on the temperature, your SCOBY’s activity, and your taste preference. Warmer temperatures speed up fermentation, while cooler temperatures slow it down.
- Taste Test:
- After about 5-7 days, start tasting your Kombucha daily. Gently insert a straw under the SCOBY or pour a small amount into a glass.
- Initially, it will be quite sweet. As days pass, the sugar will be consumed, and it will become progressively more tart and vinegary. When it reaches a flavor you enjoy – a balance of sweet and tangy – it’s ready for bottling!
Second Fermentation (F2): Flavor & Fizz!
This is where you add flavor and get that characteristic fizz.
- Prepare for Bottling:
- Carefully remove your SCOBY (and any new baby SCOBYs that formed) with clean hands and place them in a clean bowl with at least 2 cups of the freshly brewed Kombucha (this will be your starter tea for the next batch). Store this in an airtight container or a “SCOBY hotel” in the fridge for future brews.
- Now you have your plain, fermented Kombucha.
- Add Flavoring:
- Pour your chosen flavoring into your swing-top bottles.
- Flavoring Ideas for India taste palette:
- Classic Ginger-Lemon: Grated ginger and a squeeze of fresh lemon juice.
- Tropical Delight: Mango puree, pineapple juice, or passion fruit pulp.
- Berry Burst: Crushed strawberries, raspberries, or blueberries.
- Spiced Brew: A pinch of cinnamon, cardamom, or star anise.
- Local Infusions: Try mint, Tulsi, or even a tiny bit of rose water for a floral note.
- Fruit Juices: Use about 1/4 to 1/3 cup of your favorite fruit juice per 500ml bottle.
- Quantity: Generally, 1-2 tablespoons of fruit puree/concentrate, juice, or chopped fruit per haalf liter bottle is a good starting point. Adjust to your taste. The sugar in the fruit will provide the “food” for carbonation.
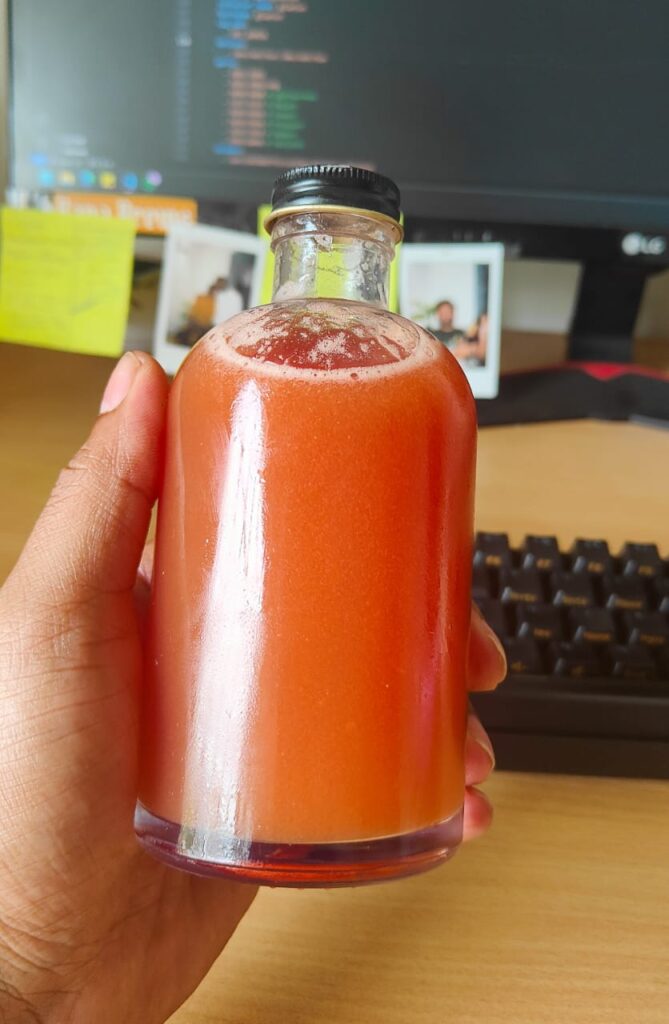
- Bottle & Carbonate:
- Fill the bottles with your plain Kombucha, leaving about an inch of headspace.
- Seal the bottles tightly.
- Leave the bottles at room temperature, out of direct sunlight, for 1-3 days.
- “Burp” your bottles daily: Briefly open and close the lid to release excess pressure, preventing explosions. The time needed for carbonation varies with temperature and sugar content.
- Refrigerate: Once your Kombucha is fizzy to your liking, move the bottles to the refrigerator. This slows down fermentation and carbonation, preserving the flavor and fizz
Common Troubleshooting & Tips
- Mold vs. New SCOBY: Don’t panic if you see white, opaque layers forming on the surface – that’s a new SCOBY! Mold, on the other hand, is usually fuzzy, dry, and appears as distinct green, black, or blue spots. If you see mold, discard the entire batch and start fresh.
- Too Sour/Vinegary: Your Kombucha fermented too long. Next time, shorten your F1 by a day or two. You can dilute overly sour Kombucha with water or juice, or use it in salad dressings.
- Not Fizzy Enough: Your F2 wasn’t long enough, or there wasn’t enough sugar for the yeast to consume. Try adding a little more fruit/sugar in F2 or let it ferment longer. Ensure your bottles are truly airtight.
- Weak SCOBY: Ensure you’re using proper tea and sugar, maintaining consistent temperatures, and using enough strong starter tea.
- Hygiene is Key: Always use clean hands and thoroughly washed equipment to prevent unwanted bacteria. Hot water rinsing is often sufficient; avoid harsh soaps that might leave residues.
- Temperature Consistency: Ideal fermentation temperature (24-29°C) is crucial for a healthy brew. In colder Indian winters, you might need a fermentation heating mat. In hot summers, find the coolest spot in your house.
Brewing Kombucha is a journey of discovery and a delicious way to enjoy a natural, probiotic-rich beverage. With a little patience and practice, you’ll soon be enjoying your own homemade, perfectly customized Kombucha.